


 There are "candle people" and then there are CANDLE PEOPLE. The later among the two are the fully-committed illuminators. Lighting candles as a daily ritual. Meals are complimented by a candle's flame. Bathrooms are lit by a perfectly-presented arrangement of candles. We all know those people. I, on the other hand, fall into the former -- "candle people" -- category. I am a bit more haphazard with my placement of candles.
There is something about a space, illuminated by candles, that suggests romance. Or, perhaps warmth. Something about the glow of the wick evokes a sense of calm and ease. There is a special charm to a lit candle that compliments the perfect celebration. Arranged casually on the table of an intimate cocktail party. Enjoying day's end with family, on the sofa. Candles in masses on the coffee table. A special end to a not-so-special day.
To mark those not-so ordinary events, I thought I would create my own unique candle. Enhanced with personal "Brett" touches.
TEXTURED CERAMIC BOWL WITH CANDLE
MATERIALS
Heat-proof container (tempered glass, ceramic bowl, etc)
Glass fill wax
Crayons (used to color the wax, so choose any color)
Wicks (determine size of container so you know what size wicks to purchase)
Glue stick
Spray paint (any color you choose)
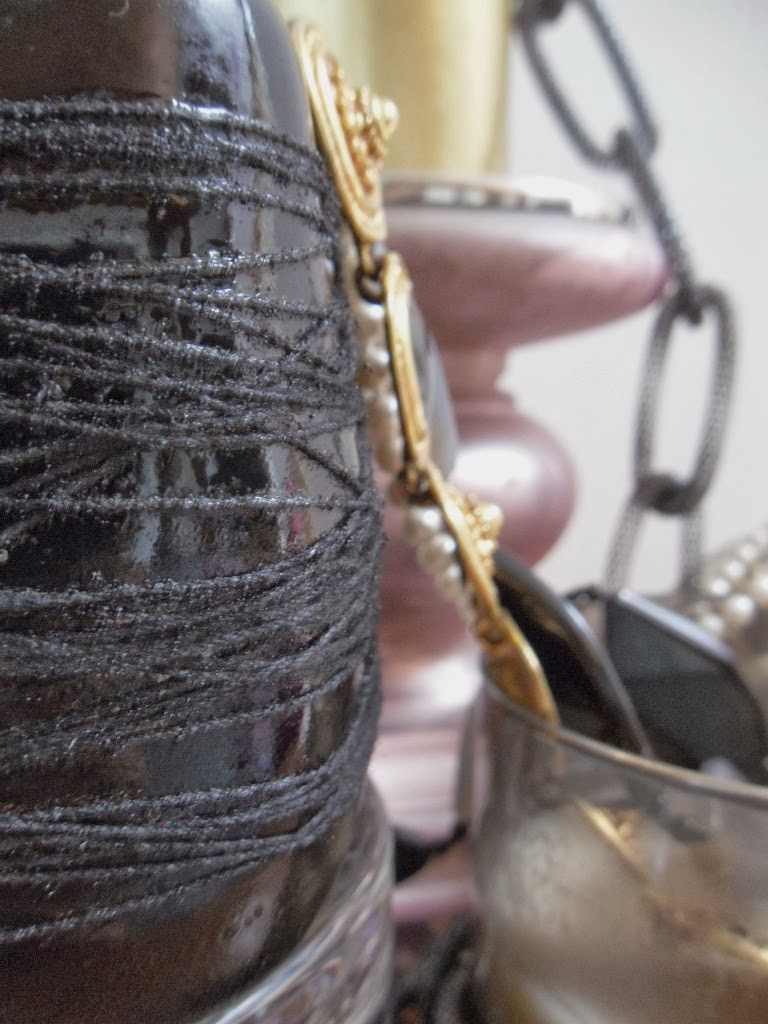
Thin string (if you choose to add texture)
Large tin can
Heat-resistant spatula (sprayed with cooking spray to ensure an easy clean)

ONE: Using your glue stick, rub all sides of your bowl (container) with the adhesive.
TWO: Wrap the string around the bowl to create your desired design.
THREE: Once dry, spray the bowl with your paint.

FOUR: Cut the wax into smaller chunks. My bowl is 4 x 3.5, so I cut about 3 cups of wax. Place into the tin can
FIVE: Depending on how saturated you want your colored wax to be, break apart about 3 crayons. Add to the tin can with the wax.
SIX: Insert the wick (I used 4 wicks), in the center of your bowl. If you are using wicks with metal disks on the end, they should stand up without assistance. If you are using wicks without disks, you can hold the wick in position by tying the top to a pencil and balancing the pencil across the top of the container.
SEVEN: Fill a heavy pot with about 2 inches of water. Heat water until simmer. Place the wax-filled tin in the simmering water. Begin stirring until wax is completely melted.
EIGHT: Using an oven mitt, carefully pour the wax into the bowl with the wicks, until you reach your desired height.
NINE: Allow wax to cool for a couple of hours, until completely hardened.


No comments:
Post a Comment